Creating an AppStack
- Get access to the service by contacting vdi-core.
- Put the installation files you are going to use onto the network directory: \\app-evs\vdi-appvolumes\Installers
- Log on to any machine on the UiO network, e.g. a VDI or an office machine.
- Go to https://vdi-av-p03.uio.no/ and log in with your drift user.
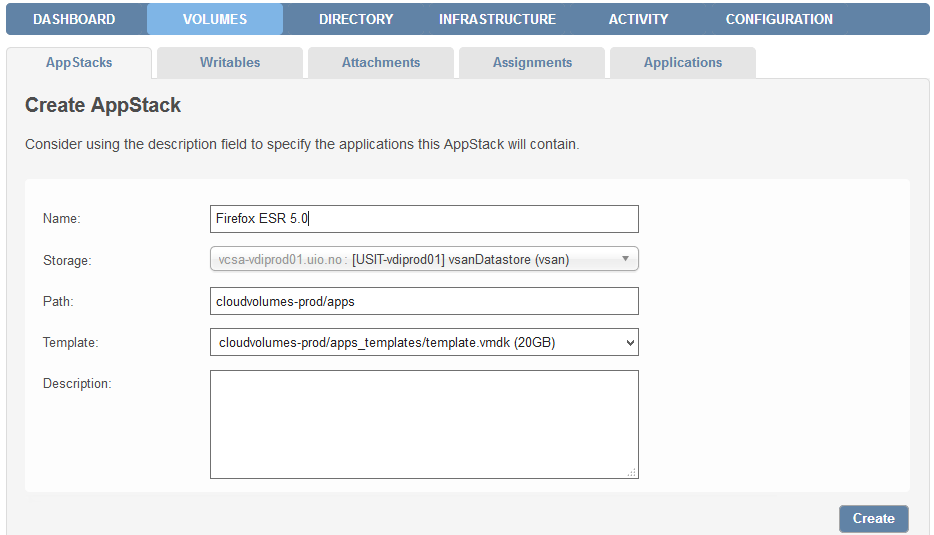
- Navigate to the "Volumes (2.X)" tab and click on the "Create" button.

- Under the 'Name' field give your AppStack a name according to the naming standard (Link). If the package contains more than one program, list them under the description field. Choose template "cloudvolumes-prod/apps_templates/template100gb.vmdk (100GB)". When this information is filled out, click on the 'Create' button.
Do not edit/change anything other than the "Name" and "Description" fields.
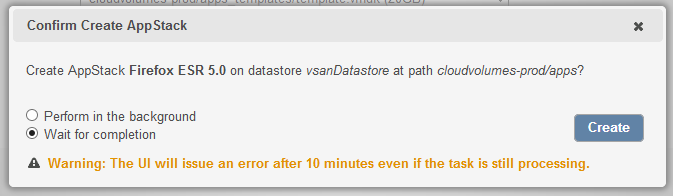
- In the dialogue box which pops up, choose to "Wait for Completion" and then click on the "Create" button.
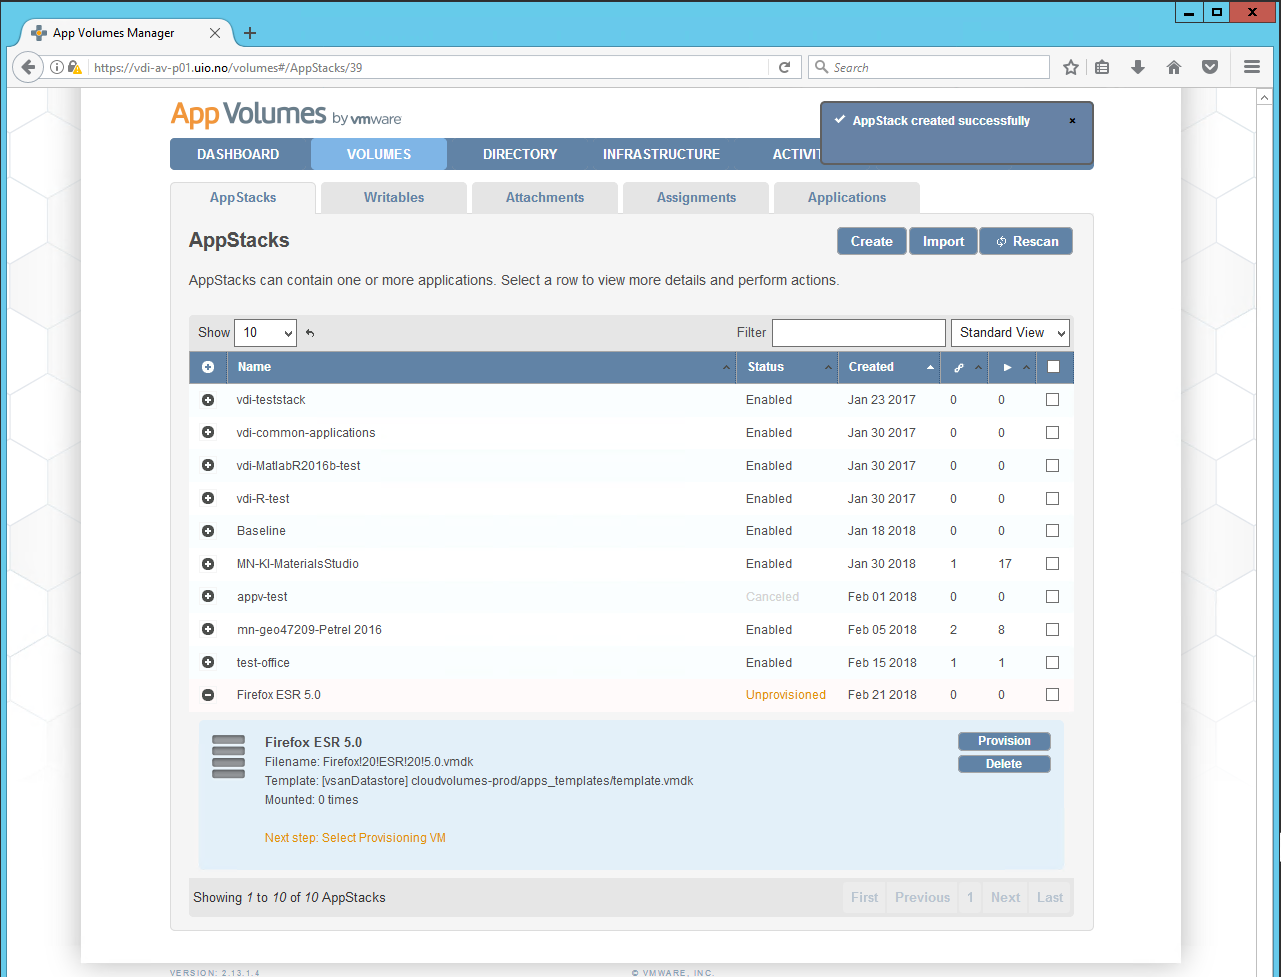
- The next step is to provision an AppStack, so click on the "Provision" button.
- Search for "vdi-appv-01", select "UIO\VDI-APPV-01$" and click "Provision". Contact vdi-drift@usit.uio.no if this machine is inaccessible.

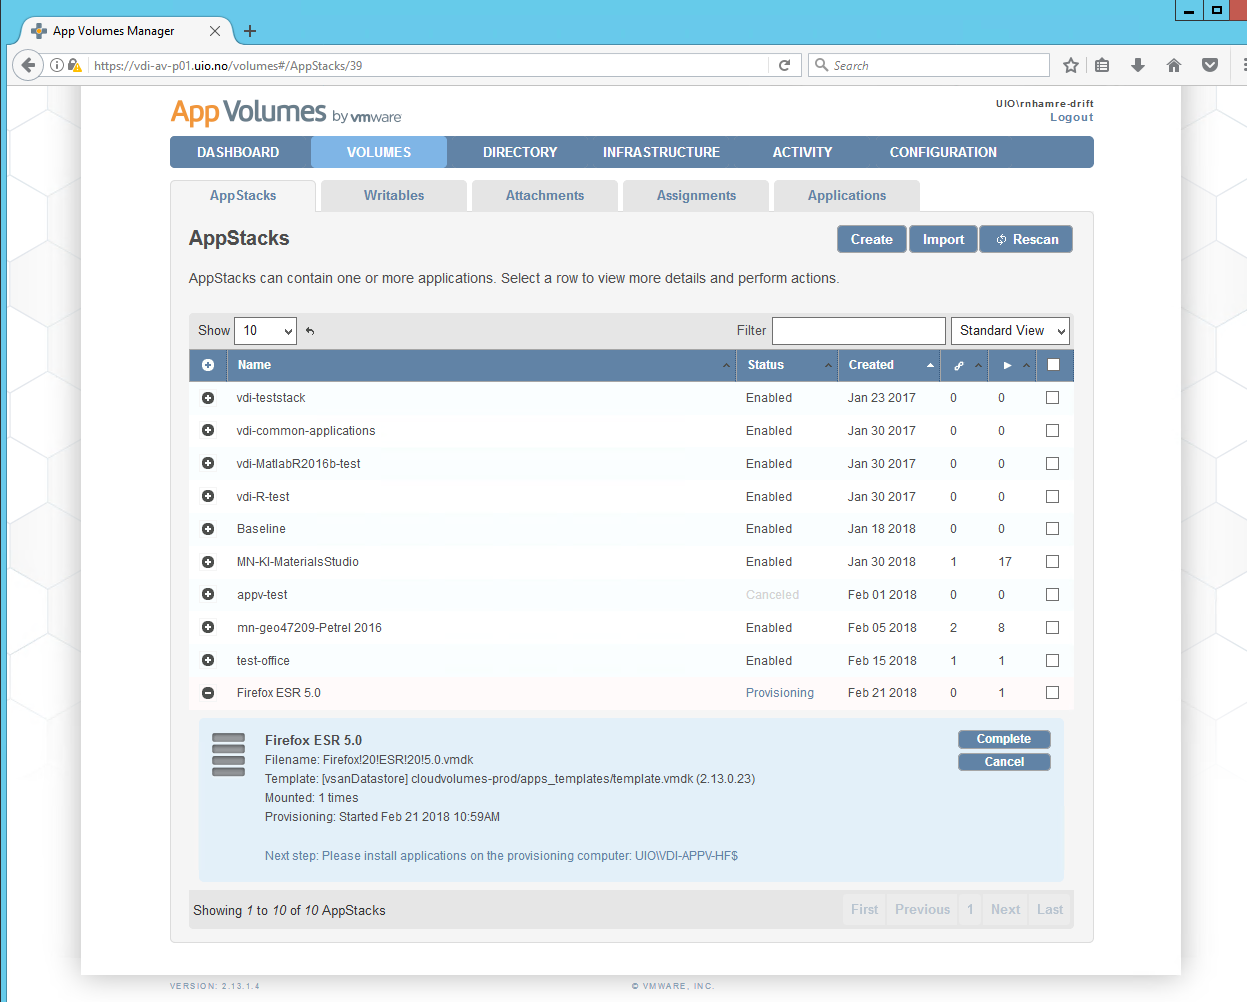
- Click on the "Start Provisioning" button.

- The AppStacks page will then change to look like this.
- Use Remote Desktop to connect to the App Volume machine you have selected. Use your Primary account to log on to the machine.
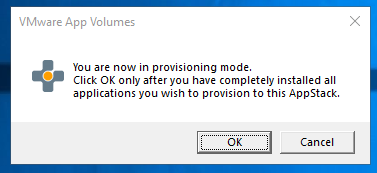
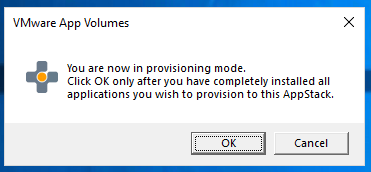
- After you click on the "Start Provisioning" button you will see a popup window has appear on the desktop. As it states in the window, don't click on the "OK" button until you have finished installing the program(s) that you want to have in the AppStack.
- On the provisioning machine navigate to \\app-evs\vdi-appvolumes\Installers\*your installer*. Copy these files over to a folder on the C drive since most of the programs don't support being installed from a network share. Install the programs that you want. Make sure that shortcuts are added to C:\Users\Public\Desktop. Shortcuts which are stored in the home directory on M will not be included in the AppStack.
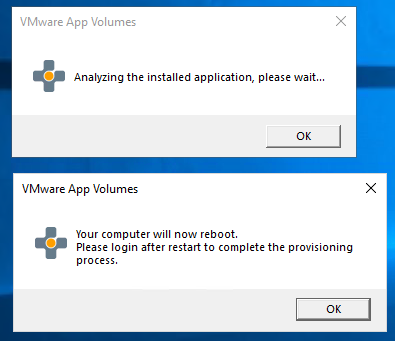
- Once you have finished installing and making the changes that you want to be in the AppStack, click on the "OK" button in the dialogue box.
- Click on the "Yes" button.

- After a little while these two dialogue boxes will appear. Click "OK" on the last one and the machine will reboot.
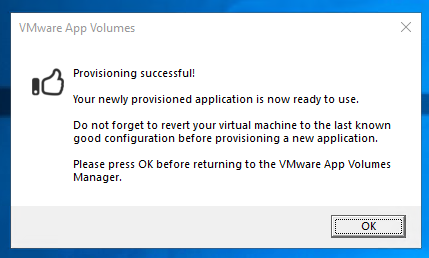
- After it has rebooted you must log in again with remote desktop to the machine so that the AppStack will be finalized. When you log in again you will get a dialogue box stating that the creation of the new AppStack was a success.
If you want to add more applications to the same AppStack you can go back to the App Volumes Manager and click "Update" on the AppStack. When you're done the machine must be reverted. Send an email or message on Mattermost to vdi-core.
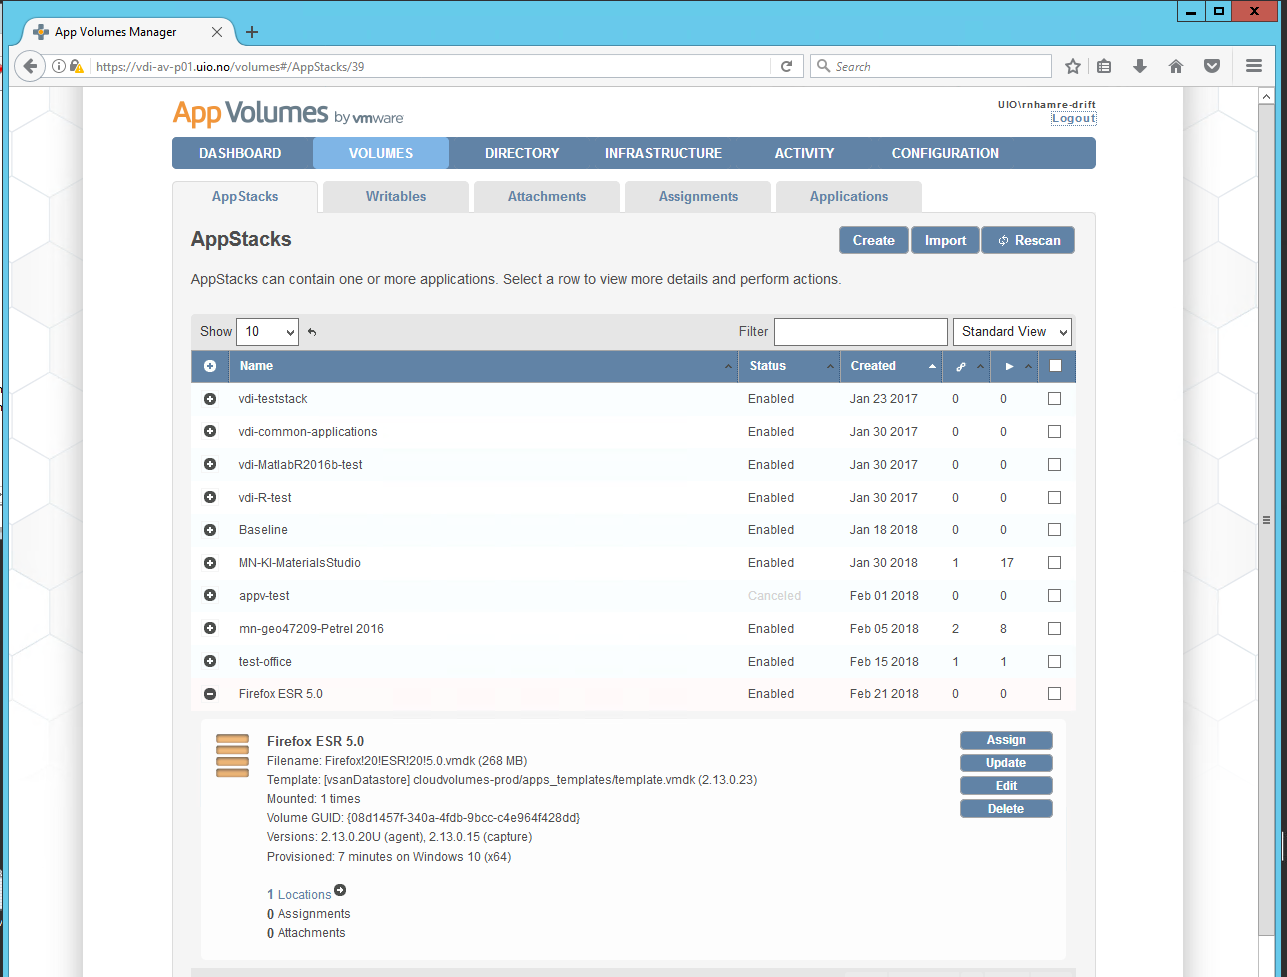
- When you go back to the App Volumes Manager you will see that it will change as you see below, where you are now able to assign the AppStack to a group. You do this by clicking the "Assign" button.
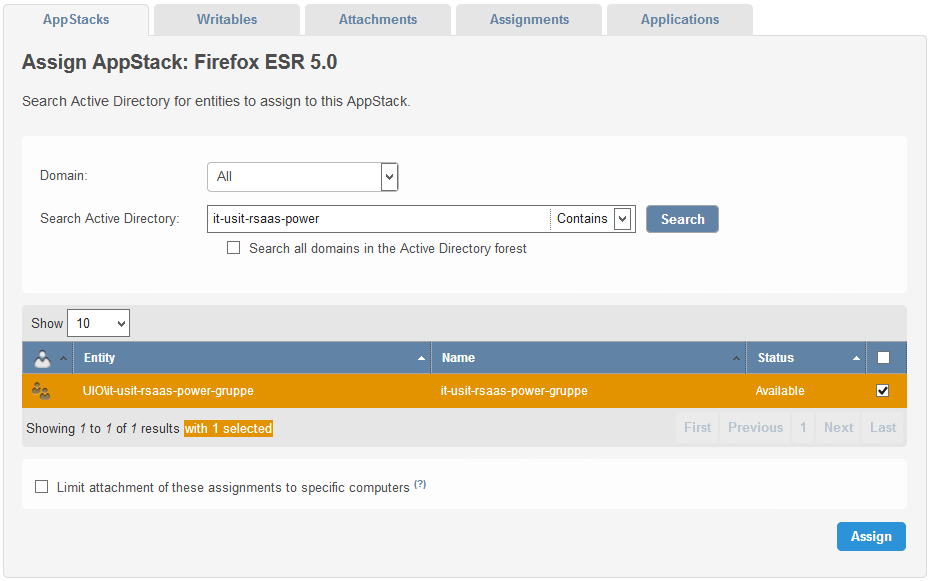
- Write in the name of the group that you want to get loaded into the AppStack when they log on the VDI machine. In the example below we have used the "it-usit-rsaas-power" group which is the one we use for local IT access. Click on the search button and choose the group you will use by ticking the box, then click the "Assign" button.
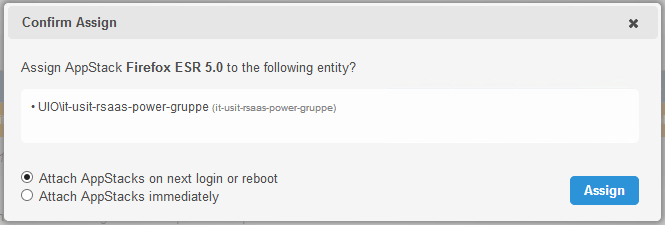
- In the next dialogue window choose "Attach AppStacks on next login or reboot". In emergency situations you can use "immediately" if it is necessary, but try to avoid it since we have seen some instability after the use of this function.
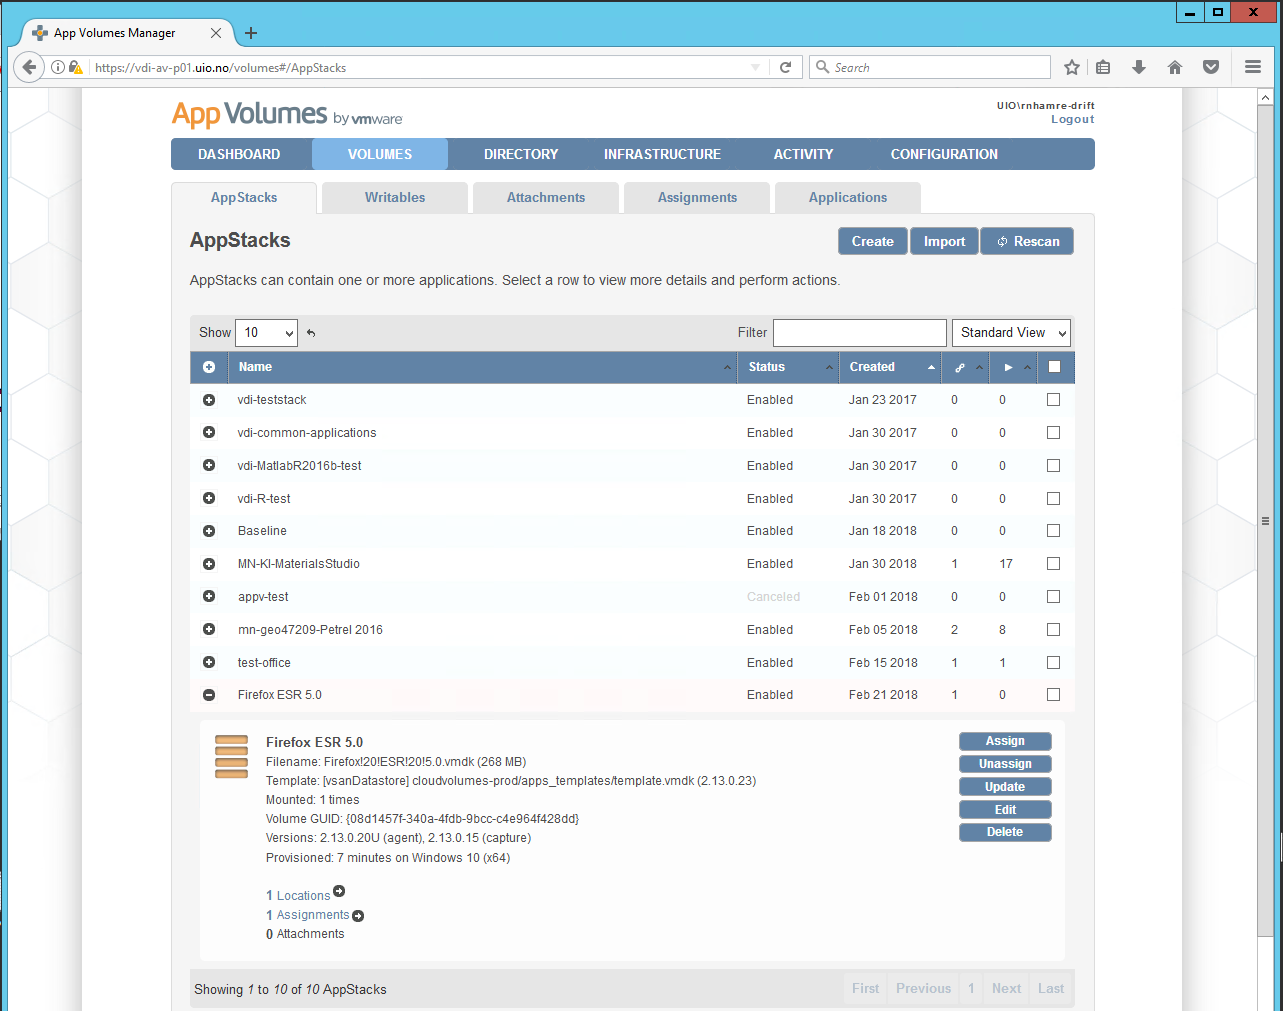
- If all goes well, it should look like this when you are finished.
3. The last thing you should do is to enable the AppStack to be used in Windows Server OS. Click "Edit" on the AppStack and check the box next to "Windows Server 2016 (x64)" under "Operating Systems". Click "Save" to finish and your AppStack should be ready to use.