For non-managed machines, UiO offers the eduVPN VPN service. This provides the following for you as a user:
- a secure, encrypted tunnel for your traffic from where you are to a point in the Norwegian Research Network
- Norwegian IP address for use with services that require this, for example nrk.no and similar services
UiO users only have access to "Secure Internet" in eduVPN, not "Institute Access".
Here you will find instructions for setting up eduVPN for Windows, iOS (iPhone and iPad), Mac and Android. The software is also available for Linux.
NB! You cannot mount network drives (shared areas) or gain access to other services at UiO that are not already open to the Research Network with this solution. On a UiO-managed laptop you can mount shared areas directly.
Support
If you have problems with eduVPN setup or the service, contact IT help.
See the bottom of the page for known issues.
Install eduVPN client on Windows
IMPORTANT: If you have a UiO-managed Windows PC, VPN is built into the system and you do not need to install VPN.
1. Open a web browser and go to guest.eduvpn.no. Log in via Feide.

2. Click Download for Windows to start the download. Click Instructions to show the vendor’s guide for installing EduVPN.
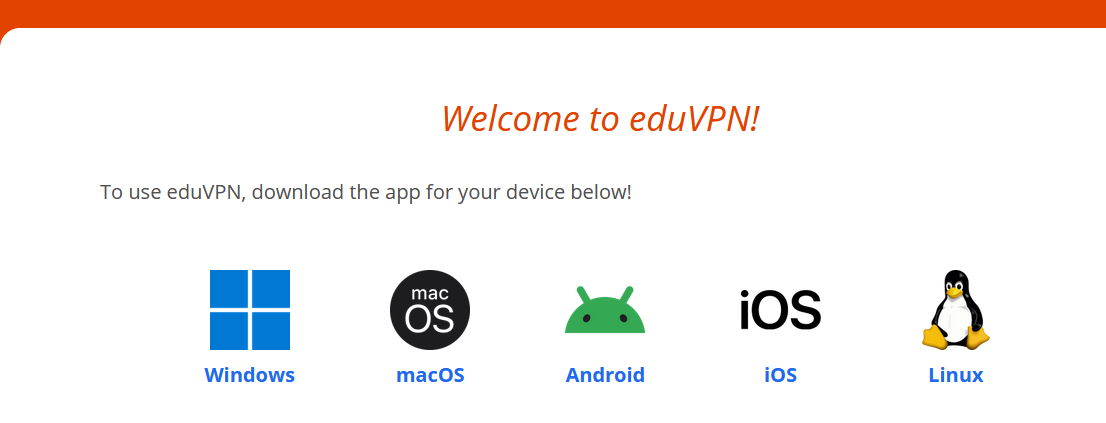
3. Start eduVPN and click the plus icon.

4. Enter feide in the Find your institute field.

5. Enter uio in the affiliation field and log in with feidebruker@uio.no.


6. The setup is now complete and you must click approve to finish.

7. You are now logged in.

Install eduVPN client on iOS and iPadOS
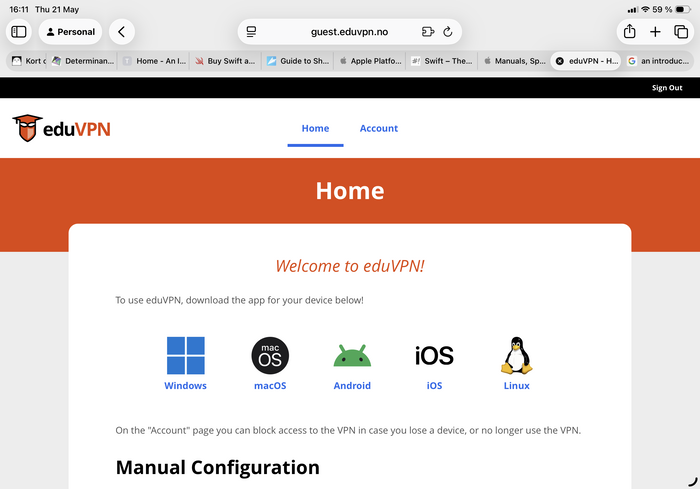
Go to guest.eduvpn.no. Log in via Feide and select "ios" to install on iOS or iPadOS:
Install the eduVPN application from the Apple App Store:

Start the application and read through and accept the privacy statement:

Then you must choose which institution you want to connect to; search for "feide":

Approve the eduVPN application:

Locally on the device, eduVPN must be allowed to manage network traffic; press "Allow":

If you want to be notified before the connection expires, choose "Notify":

After that you will get a similar request asking if you want to allow notifications. We recommend starting by allowing them; you can change this later if you prefer.
Congratulations! You are connected to eduVPN (see the "VPN" icon at the top right of the screen):

Install eduVPN client on macOS
1. Open a web browser and go to guest.eduvpn.no. Log in via Feide.
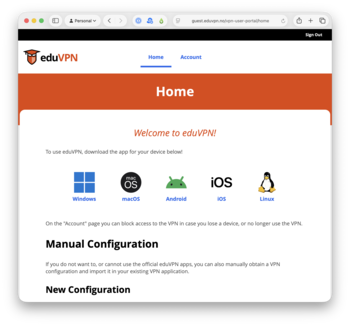
2. Click macOS to follow the link to the Apple App Store. Click Install to install the EduVPN client.

Click the installation button just below the part of the screen shown in the screenshot. Also verify that the account listed is the one you want to use (important if you have several).

Start the eduVPN application if it does not start by itself. You will then be asked to choose which institution you want to connect to; type in "feide" and then click "Feide" (under "Secure Internet").

A notification window will now open where you must choose "continue" to allow the eduVPN application to open a browser window:

The browser window appears and here you must again click "Approve":

Once it is approved, a notification window appears asking if you want to allow a VPN configuration to be set up on your machine. Because this is a VPN configuration we want, from a provider we trust, we choose the "allow" button to permit this (otherwise you should be cautious when you see this dialog):

When eduVPN has been granted permission in the previous step, it will configure the connection:
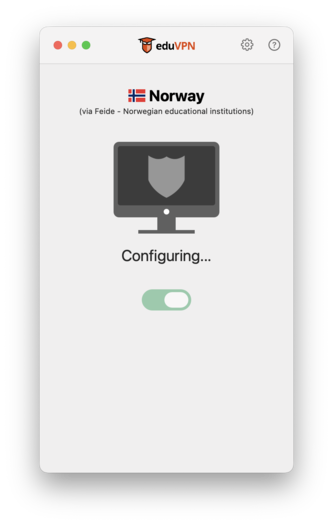
The application opens a dialog box asking if you want a notification before the connection ends due to timeout. You can choose what you prefer here, but we recommend saying yes to notifications, and changing this later if you change your mind:

Congratulations! You are now connected:

Install eduVPN client on Android
1. Download the eduVPN app from the Play Store.

2. Enter feide in the Find your institute field and log in with your Feide user.


3. Choose approve (only during the initial setup).

4. You are now logged in.

Install eduVPN client on Linux
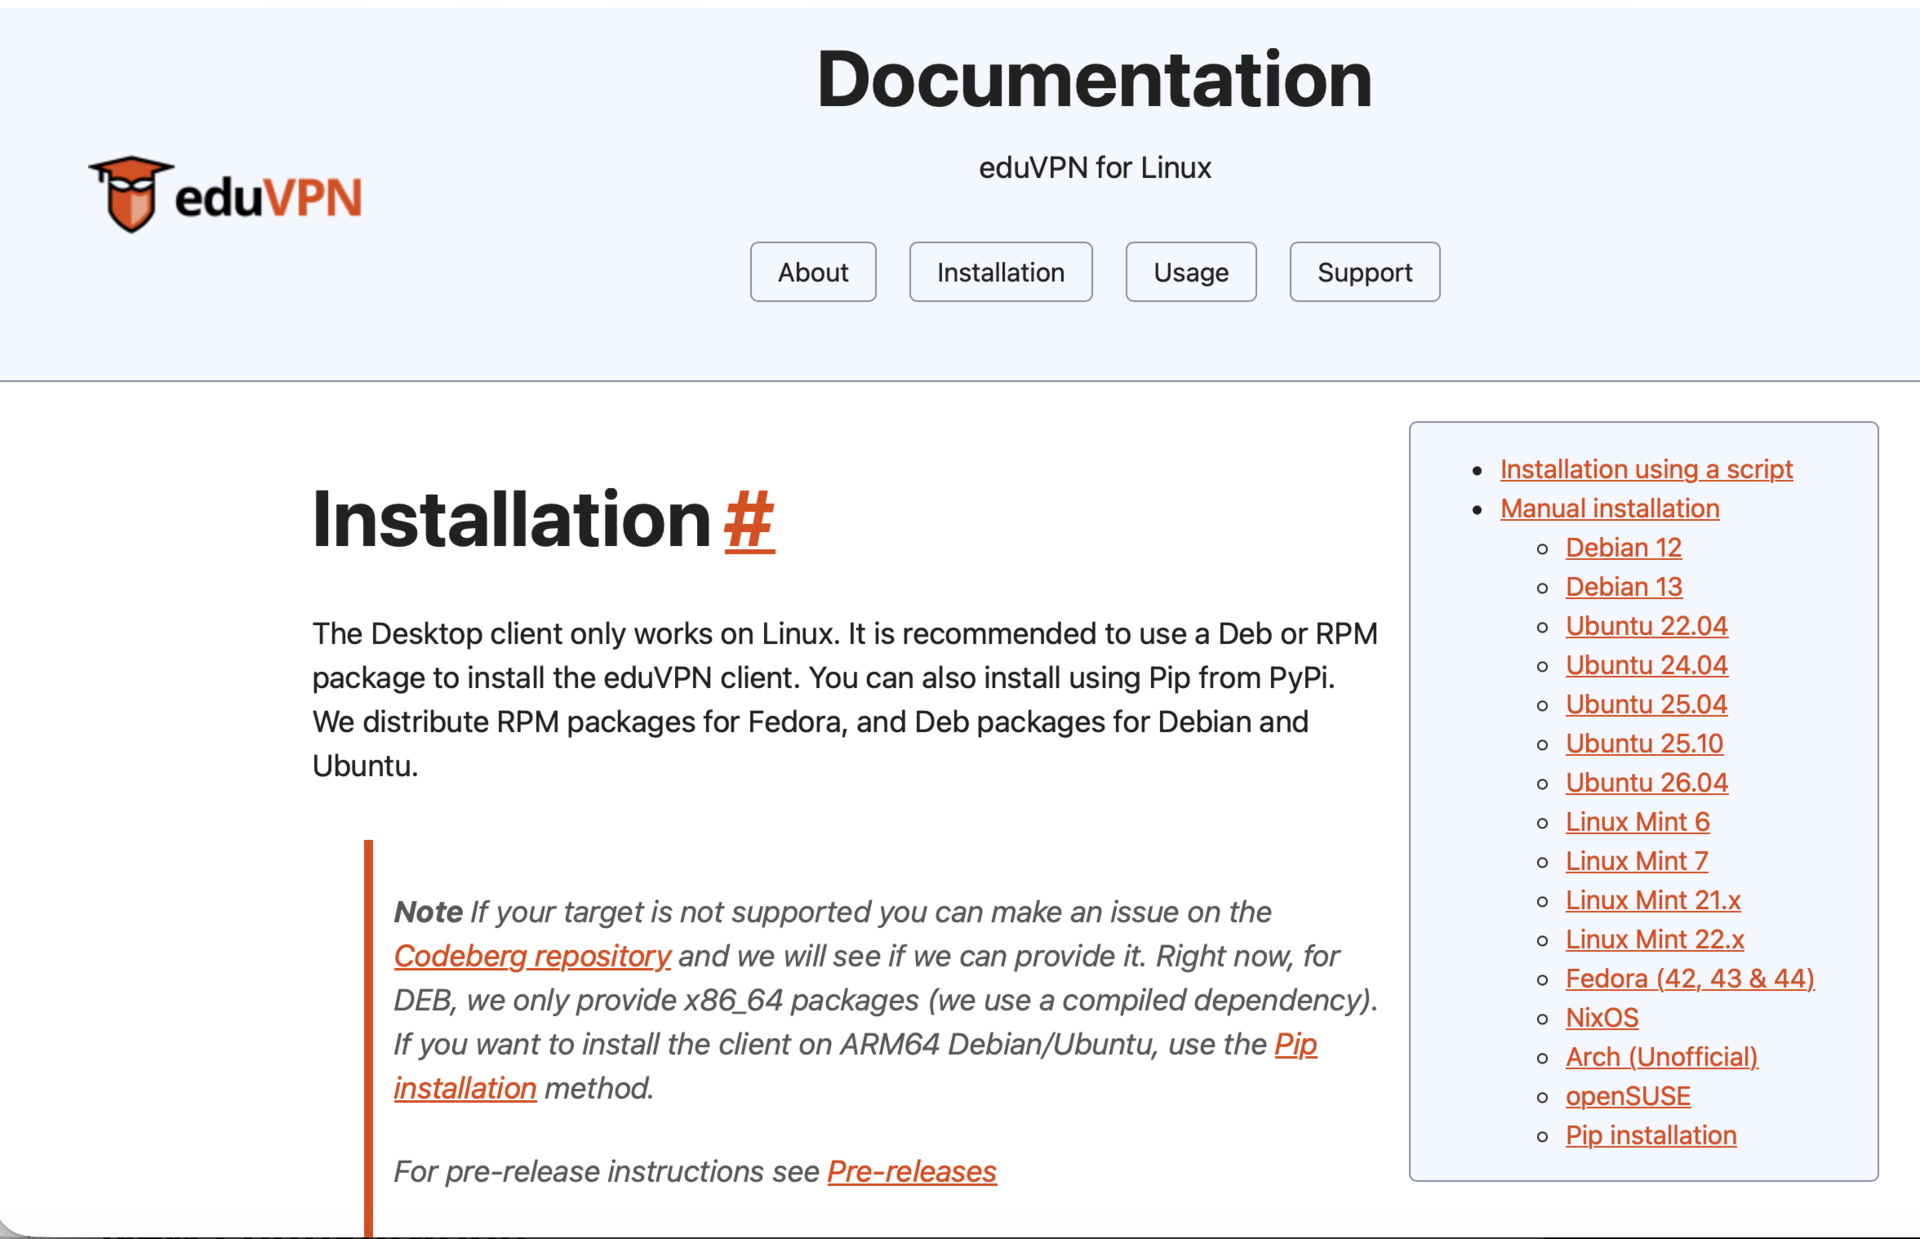
eduVPN has published its own guide. Distributions that are not listed there are not officially supported, but hopefully they will work without too many adjustments.
Known issues
Error: Cannot Start Tunnel
If you receive this error message, it is likely that you already have a running service on the network that is causing problems, e.g. another VPN client. Try disconnecting or disabling this and try again.

```