Ensure that initial steps for getting access to TSD, as described in Getting Started, has been followed.
Get QR Code / OTP (One Time Passcode) for Google Authenticator
Note: You should remove any existing OTP for TSD from Google Authenticator prior to adding a new one. Overwriting an existing OTP can create login issues.
- Download Google Authenticator on your phone.
- Go to https://selfservice.tsd.usit.no/ and click on Change your OTP under Your Personal Data.

- Log in with ID-porten (you may log in with your TSD user if you have an OTP and a password set on your account).

- Click Get OTP QR Code. It is important that you only click once, as a new code is generated for each click. Scan the QR code with the authentication app (Google Authenticator) on your phone. You may follow the guide below on how to do this.


How to scan a QR code with Google Authenticator
When you open the Google Authenticator app you will see one of two things:
I see TSD (pxxx-username@tsd.usit.no)
- If you see TSD (pxxx-username@tsd.usit.no) with a six-digit number beneath, then you have already set up a One Time Passcode / OTP for TSD. If the code does not work and you need to set up a new OTP, it is important that you delete the one you have currently to not create any confusion or problems in the future.

- To delete your OTP you need to click and hold your finger toward the card until it is marked blue.

- When the card is marked, you will see a pencil and rubbish bin icon at the top right of the screen. Click on the rubbish bin to delete the OTP. You will be asked to confirm your choice. Click on Remove account to delete.

- The card is now deleted. You may follow the steps under I do not see TSD (pxxx-username@tsd.usit.no).
I do not see TSD (pxxx-username@tsd.usit.no)
- If this is the first time you are using Google Authenticator then you will see a welcome page for the app. Click Get started to continue. If you have used the app before you can click on + at the bottom right corner instead.


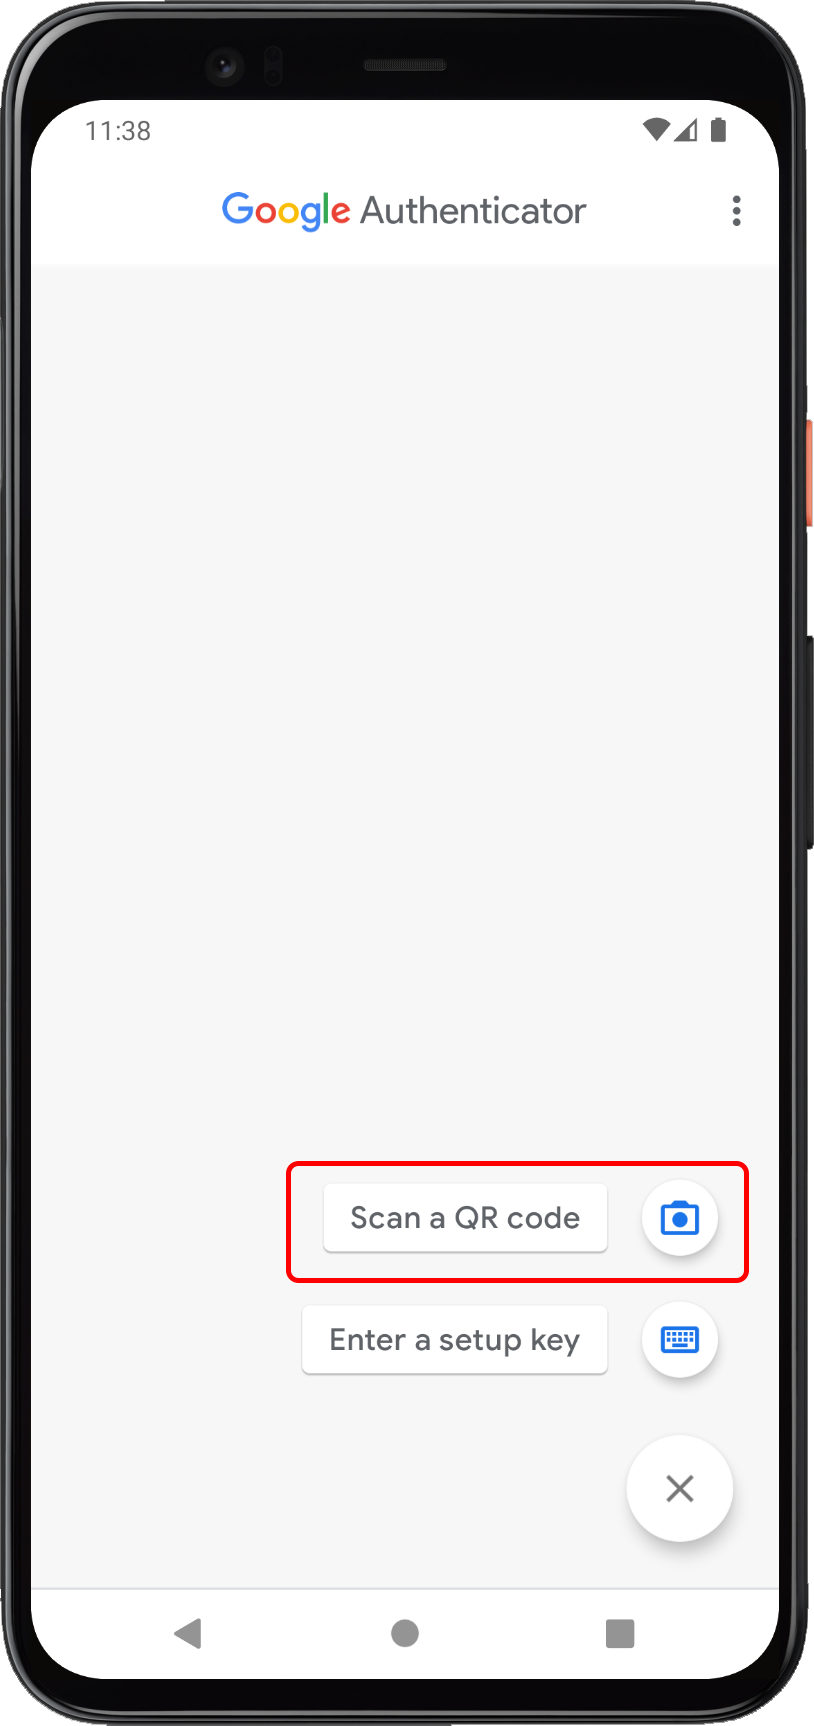
- You will be given two options; select Scan a QR code.

- In newer versions of iOS and Android you will be required to give camera permissions to the app.

- You will use the camera on your phone to scan the QR code on your computer monitor.

- Once the QR code has been scanned you will see a card named TSD (pxxx-username@tsd.usit.no). The OTP will lie beneath and will be changed every 30 seconds. This works similarly to logging into your online bank account with a code generator. If you are a part of multiple projects you will only see one of the projects listed. The OTP will work for all TSD accounts.

Set a password
If you also need to set password then click Back, and then continue as described in this article. If you already have a password, click Log Out.
Call us
Opening hours are weekdays from 08:30 to 17:00 and Saturdays from 10:00 to 15:00.
Phone number: 22 84 00 04
Book a Zoom meeting
Students and employees can book a Zoom meeting with UiO Helpdesk. Available hours are Tuesday to Thursday between 11:00 and 13:00.
Book a video call