General
The Nettskjema image app lets respondents take photos with their phone or retrieve them from the camera roll and send them as attachments to a Nettskjema form. The app is used for regularly answering a single form.
It is possible to register GPS coordinates, as well as receive regular reminders on the phone to submit responses.
In addition, it supports offline answering, where completed forms are stored encrypted in a queue and automatically sent when the phone once again has internet access via 3G, 4G or Wi‑Fi.
To administer the app, you must have access to Nettskjema.
Getting started
Step 1: Download the app
iOS (iPhone and iPad): App Store
Android (phones, tablets): Google Play
If you already have the app downloaded, make sure that the app is updated to the latest version on the phone.
Step 2: Create a Nettskjema form for Nettskjema Image
- Log in to nettskjema.no and select Create form.
Choose form type Get form from template (Consent form, dictaphone etc.)

Select Nettskjema Image – storage in Nettskjema if the images are to be stored directly in Nettskjema.
Select Nettskjema Image – storage in TSD and Educloud if the images are to be stored directly in a TSD or Educloud project.
You will now see the Nettskjema form builder with an attachment field for image (Image) and a text response (APP-ID).

Image is a standard field that can be used if the mobile app is to take pictures. If several images are to be collected for each response, you can add more attachment fields.
APP-ID is a random number that is automatically generated when the app is installed on a mobile phone. This makes it possible to link together responses from the same app installation during later analysis. In the results file, there will then be a variable called APP-ID, and each installation of the app is represented with its own number. The field is not mandatory and can be removed if you do not need this variable in the results file.
You can now extend the form in the usual way by inserting the desired fields and questions. Most Nettskjema elements can be used in the app, but there are some special fields that are not yet supported by the app. These are Number, Person ID, Date, Username and Email address.

Custom person ID/study ID
For studies that use a custom person ID or study ID, you can add a field in the app by creating a normal question with a text response at the top of the form. When the app is installed for the first time, the respondent will be asked to fill in the pre-assigned study ID.

Give this element the codebook value respondent_id.

GPS coordinates
If you need to log GPS position data from the respondent’s mobile phone, you can add dedicated fields for this. GPS position is then registered when it is saved in the form by the respondent. In the app this appears as a separate question for Save position.
Add a question with text response for each of the fields for which you need coordinates. Codebook values for GPS questions are as follows:
location_lat
location_lng
location_accuracy
location_speed
location_heading
location_altitude
location_altitude_accuracy
location_timestamp- Add codebook values for all fields under Codebook. Read more and get an introduction to the codebook in Nettskjema.
Step 3: Connect the image app to the Nettskjema form
When installing the app, you enter the Form ID of the form you have created in order to connect it to the app.

You can find the Form ID in the form.

You can also find the Form ID in the form’s URL; it corresponds to the last 6 digits of the form’s URL.
https://nettskjema.no/a/XXXXXXYou are responsible for communicating the Form ID to those who are to respond to the form. It may be useful to set up a short URL to the form, as this is easier to share with respondents. This label is then what the respondent enters in the app.
Step 4: View responses
Storage in Nettskjema
Responses registered via mobile phones are stored only temporarily and encrypted on the respondent’s phone. When the respondent has network access, the response is sent to the Nettskjema service, or to TSD, and deleted from the phone.
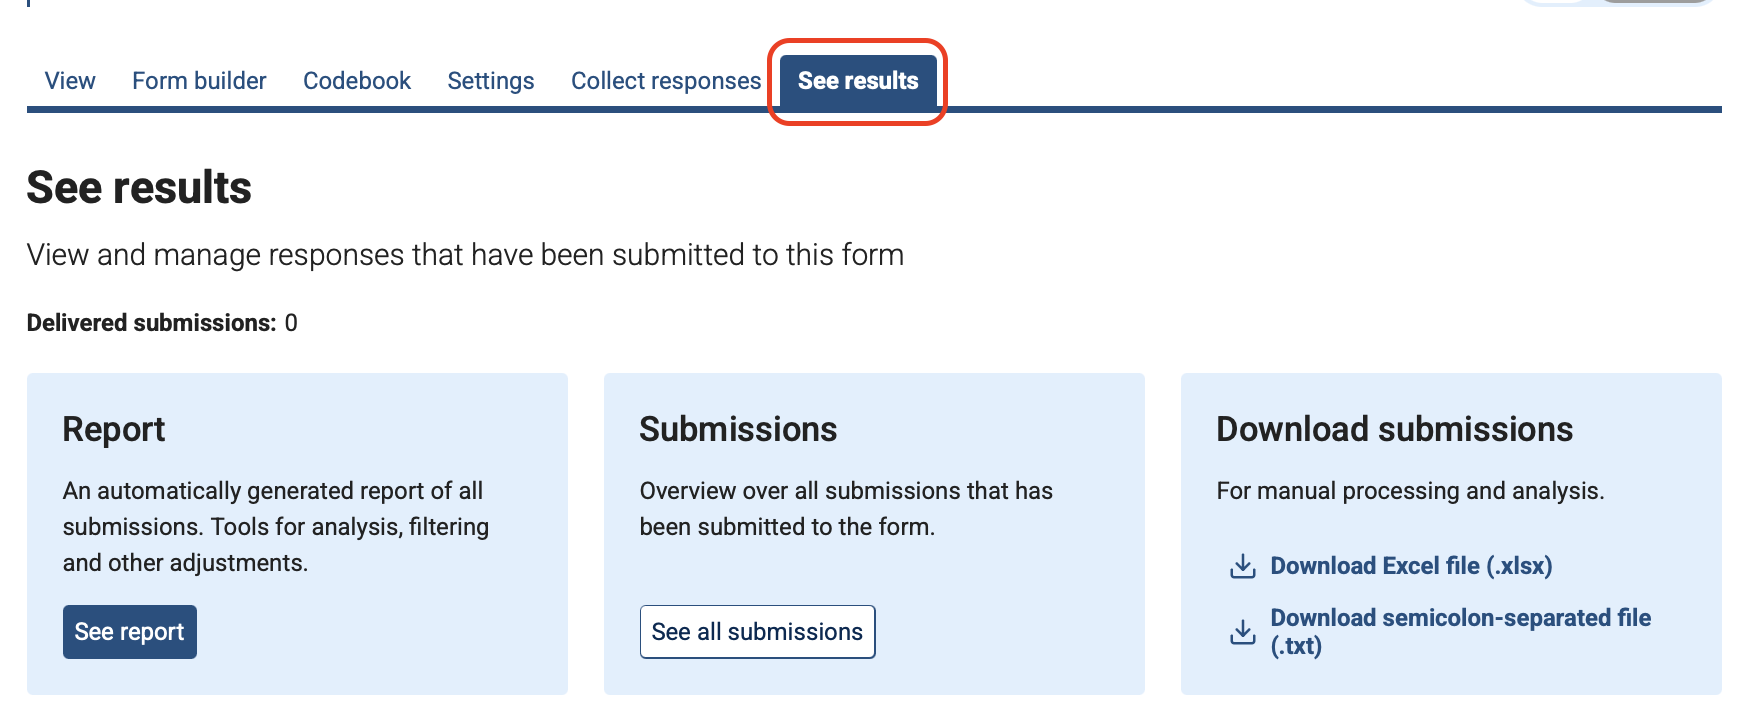
To view the responses, go to your form and the View results tab.
Storage in TSD/Educloud
If you have enabled storage in TSD or Educloud, responses can only be found in that service. They are not stored in Nettskjema.
Startup form and standard app form
It is possible to have a separate startup form that is shown the first time the respondent installs the app. This is typically used for demographic questions or other information that you only want to ask once at startup. A separate form must be created for the startup form.
The standard app form is the one that can be answered multiple times and is shown every time the respondent opens the app.
Create a startup form
The startup form is created in the usual way as described under Getting started above, but in the form you add a separate field that specifies that it is a startup form.
In the startup form, insert a normal question of type text response at the top of the form.

In the codebook, assign the value profile-id to this question element.

Define the standard app form
In the standard app form, you add a separate field that specifies that it is the standard app form, which can be answered multiple times and is shown every time the app is opened.
In the standard app form, insert a normal question with a text response at the top.
In the codebook, assign the value profile_form_skjemaID to this question element.

Replace skjemaID with the startup form’s Form ID, e.g. profile_form_152703. You can find the Form ID in the startup form here:
You can also find the Form ID in the form’s URL; it corresponds to the last 6 digits of the form’s URL. https://nettskjema.no/a/XXXXXX
Call us
Opening hours are weekdays from 08:30 to 17:00 and Saturdays from 10:00 to 15:00.
Phone number: 22 84 00 04
Book a Zoom meeting
Students and employees can book a Zoom meeting with UiO Helpdesk. Available hours are Tuesday to Thursday between 11:00 and 13:00.
Book a video call